It’s no secret that cleaning windows and mirrors is a big task; with our cleaning tips, it’ll be a breeze.
There are always a lot of things to get done around the house. Between vacuuming and mopping, cleaning the bathrooms, making dinner, folding the laundry, doing the dishes, and so much more, there’s always something to do. Buried somewhere in that lengthy list of chores is cleaning your mirrors and windows.
Cleaning your windows, mirrors, and other glass items in your home might seem like a simple, no-brainer task, but if you’ve ever given it a go, you likely already know the job requires a lot of attention, skill, and thought. While plenty of small things might make this chore a bit more challenging for you, it doesn’t have to be difficult!
Today, we’re diving into everything you need to know about cleaning windows, mirrors, and other glass items in your household. We’re sharing industry pro tips and tricks, things not to do, and the best practices for getting your glass shiny and bright.
Continue scrolling below to learn more about mirror and window maintenance.
Cleaning windows, mirrors, and glass: 10 tips you need to know
You can always bring in a professional to clean your property’s windows, mirrors, and glass. Still, when you incorporate our ten insider tips, you’ll clean like the pros and get expert results without paying them.
If you want clear-clear and shiny-bright results, here’s what you need to know about cleaning and window maintenance:
1. Remember to dust before you wash
One of the biggest mistakes you might make when cleaning mirrors, windows, and other glass items is to skip dusting before cleaning. A surefire way to get streaks and grime buildup is to get the dust wet. So, before you begin the washing process, remove the layers of dust, dirt, and other debris from the glass surfaces.
Dusting before washing will make this process easier and your efforts more effective and efficient. Failing to remove these airborne particles from your surfaces will make your mirrors and windows hazy and severely affect your results. Dusting first will prevent smudges and the need to go back and re-clean the glass to remove the streaks.
2. Use quality window cleaning tools and materials
Like most other household chores involving cleaning, using dirty or mediocre, cheap, low-quality materials and tools will likely bring inferior results, leaving you unsatisfied. Using the wrong window cleaning tools will surely leave your glass looking cloudy and streaky, and then you will need to redo the job.
Avoid using materials like terry cloth towels, which often leave behind fuzz and streaks. You’ll also want to skip using paper towels and newspapers. When these become overly wet, they may deteriorate, pill, and leave behind rolled-up bits in their path. A dirty cloth only spreads the dirt around, never leaving you with the desired results.
Instead, opt for a clean microfiber cloth and swap it out as often as necessary to achieve the clean glass you want.
3. Opt for adequate cleaning solutions
Similarly to using quality window cleaning tools, it’s important to use adequate cleaning solutions. The entire reason window cleaning products exist is to help remove dirt, dust, grime, and other kinds of buildup from the glass surface.
It should never be the reason hazy streaks are left behind. However, using cleaning solutions that are too harsh could result in similar issues.
This is why closing a decent cleaning solution is key. Some homeowners choose to go the store-bought route, while others prefer to make their own cleaning products at home. Everything you need to concoct your own cleaning solution can be found in your kitchen. It comes down to what you want and your personal preferences.
4. Never bite off more than you can chew
Cleaning windows, mirrors, and other glass surfaces in the home is no small feat. When you take on a task this size, working in smaller, more digestible chunks is important. Biting off more than you can chew is a common mistake and will leave you with a streaky mess.
Avoid taking on large areas at a time. Instead, work in sections; focus on a smaller spot, complete that, and then start another small spot. For example, don’t spray your product over the entire piece when cleaning a large mirror. Spray down what you know you’ll clean before the product dries up. The same goes for cleaning windows. Never spray your windows with a cleaning solution at the start, and allow it to vaporize.
Only spray what you know you can tackle in the time it would take to dry. That way, you can see what is happening, work before the products evaporate, and make necessary changes to your cleaning process. Once you finish one section, move on to the next.
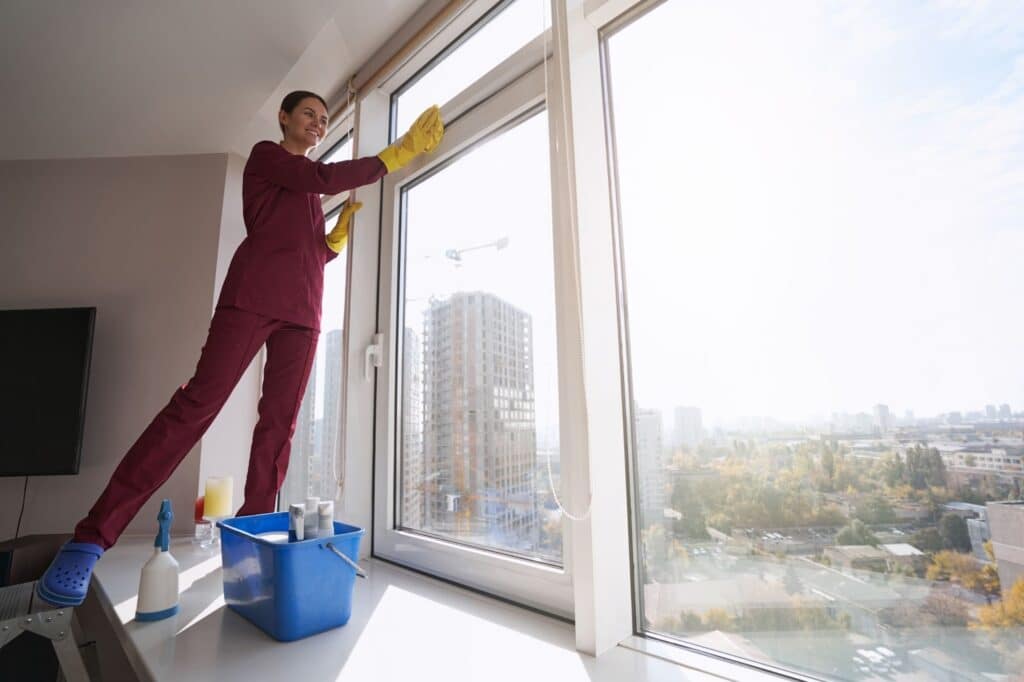
5. Clean both sides of the glass
If you want to really see the difference between clean and dirty windows, cleaning both the inside and the outside is key. Removing fingerprints and other noticeable smudges is great, but if you’re not going to clean the outside surfaces, there’s almost no point in cleaning your windows at all!
Cleaning both sides of your windows will vastly improve your view, increase the amount of natural light that comes into your home, and give your home an upgraded look and feel.
6. Choose an overcast day for washing windows
Cleaning windows on a warm, sunny day may sound idyllic, but that idea is actually up there with washing windows during a rainstorm: not ideal. Hot, dry, and sunshiny weather leaves your windows prone to streaking.
Direct sunlight exposure, low humidity, and high temperatures will result in your window cleaning solution drying faster, well before you have time to clean and dry them, even if you work in small, bite-sized chunks (see above).
Of course, you don’t want to clean your windows on a stormy or windy day, either. Instead, clean your windows on a partly cloudy or overcast day with zero rain in the forecast.
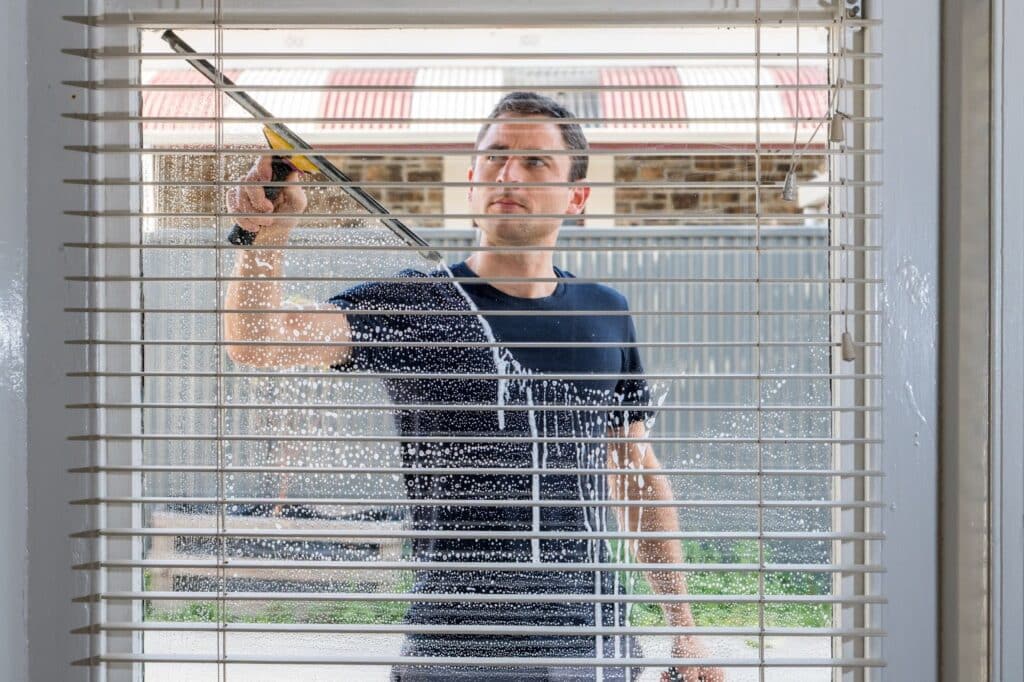
7. Implement a pro-like drying technique
Implementing a proper drying technique is essential to prevent future dust buildup and avoid streaks and haze on your windows and mirrors. If you want professional results, use a squeegee instead of a rag (yes, even on your mirrors!).
A microfiber rag has its place in cleaning windows and mirrors, but not so much when it comes to most of these chores. Cleaning cloths are perfect for soaking up water drips on the frame, spills on the countertops or sills below, and even removing excess water from your squeegee. However, a squeegee is best for drying your windows and mirrors.
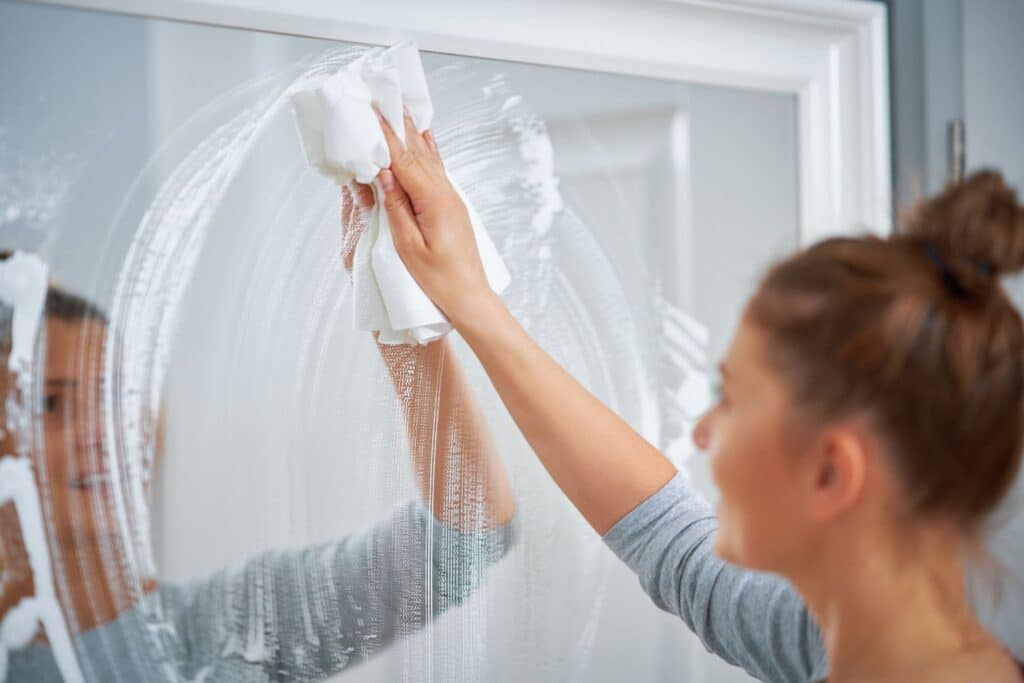
8. Clean your mirror using swiping motions
You’ve probably heard that working in circles is best when cleaning your mirror. There’s no denying that there’s something fun about a Mr. Miyagi-style cleaning and that childhood nostalgia of the wax-on, wax-off motions warms the heart.
However, in our professional experience, working in circles leaves streaks behind. Sticking with side-to-side and up-and-down motions will give the best results. Of course, once your mirror gives a streak-free shine, you can practice the sweet karate moves Mr. Miyagi instilled in our youth in the mirror.
9. Don’t forget the window frames
Even if you master the art of getting your windows streak-free, if your frames are still dirty, the job isn’t complete. Removing the smudges, dust, and dirt from your window frames is part of the job. Use a clean microfiber cloth to remove the buildup. Don’t forget the handles and hardware. Cleaning your frames helps with window maintenance, too.
10. Remove hairspray with rubbing alcohol
When cleaning your mirrors, you’ll likely encounter stubborn marks that won’t come off with a standard washing approach. One of the best ways to clean a mirror when dealing with hairspray stains and other obstinate spots is to put some rubbing alcohol on a paper towel and carefully wipe it across the marks, then clean as usual.
Wear gloves to protect your skin, ventilate the room by turning on the fan or opening doors and windows, and ensure no open flames are nearby, as rubbing alcohol is highly flammable. Avoid contact between rubbing alcohol and any frames, as it could damage various materials.
Looking for an expert window installation company? Contact the professionals at Mountain States Windows & Siding!
Sometimes, no amount of cleaning windows is enough if your windows are old and inefficient. If you need new windows, the Mountain States Windows & Siding pros are here to help.
New windows for your home come with countless benefits, and the team at Mountain States is here to help you enjoy those perks. We are here to make your window upgrade and installation process the best home improvement project.
Our team has decades of industry experience and the skills, equipment, tools, and knowledge to take on your window or siding project in Northern Utah. When you choose us, you choose a dedicated, trusted, and superior team.
We are dedicated to offering professional and honest service. We are always upfront and transparent with you about each of our processes. Whether you need new windows, a siding installation, or a kitchen and bathroom remodel (yes, we do that, too!), our team is here for you.
If you are in the Salt Lake City, Provo, Spanish Fork, Lehi, Kearns, Park City, or Heber City area, contact Mountain States Windows & Siding for all your siding and window needs.
http://ijm-nasp.unhas.ac.id/public/ kampungbet pragmatic casino https://instrumentasi.stmkg.ac.id/img/ https://instrumentasi.stmkg.ac.id/image/ kampungbet kampungbet 15 kampungbet kampungbet kampungbet kampungbet kampungbet kampungbet kampungbet kampungbet kampungbet kampungbet kampungbet kampungbet kampungbet kampungbet kampungbet https://www.english.focaravajuce.org/ kampungbet agen judi bola kampungbet kampungbet

